Artrage Basics
Step 01
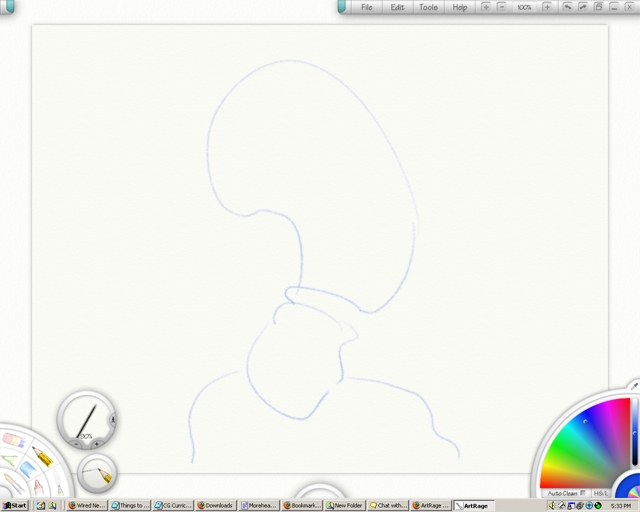
Artrage is a great intuitive program for painting and drawing. I first chose the pencil tool in the bottom lefthand corner. Then in the bottom righthand corner I chose a color from the palette. I first started off by drawing a quick outline of the subject.
Step 02
In the File window there are a few different type of options:
Step 03
Select Save Painting As.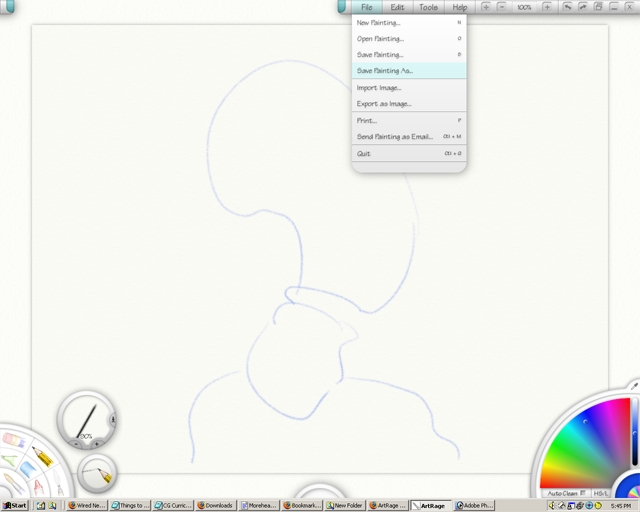
Step 04
A Save As dialog box will appear. Find a directory(or folder) that you want to save the file in. Select the folder icon near the top right of the dialog box(2nd icon right of the light blue arrow). If you are not certain which icon it is hold your mouse cursor over the icon for a short period of time(without moving it) and words will tell you what the icon does.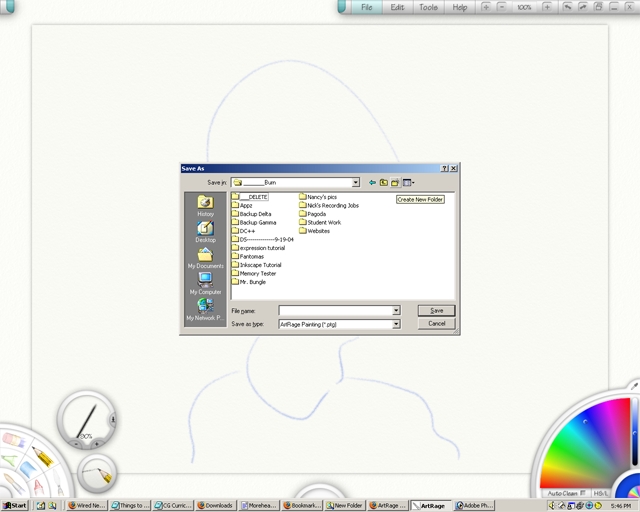
Step 05
This will create a new folder.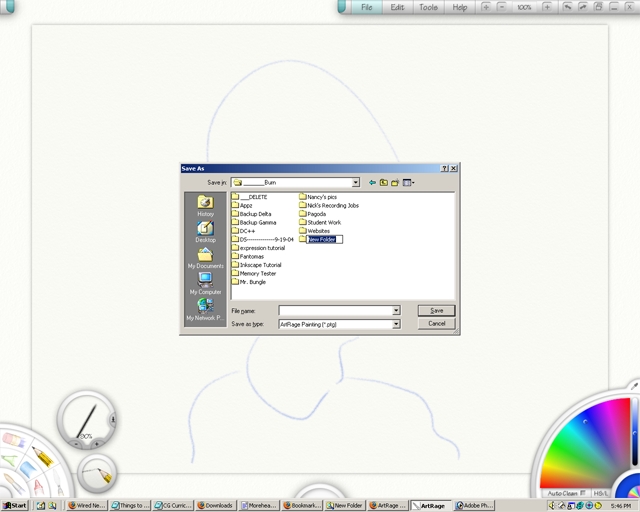
Step 06
Type the name of the folder.
Step 07
Once finished typing the name hit enter twice. This will confirm the name and enter that directory.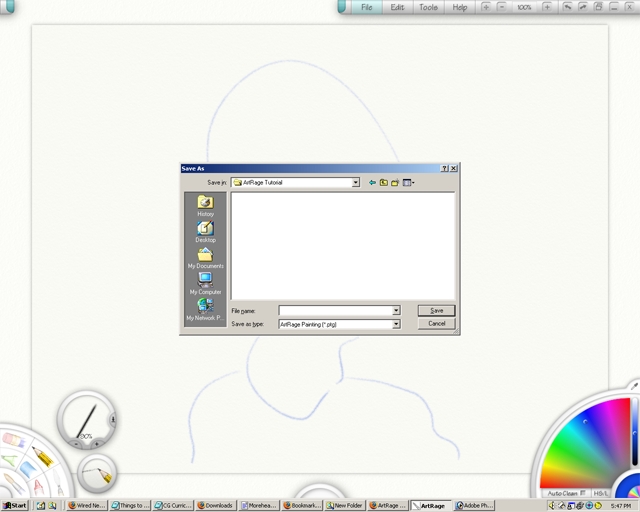
Step 08
In the part of the Save AS dialog box that says File_name type a name for the file. Hit enter or click on save. Now a file has been saved.
Step 09
Select the paint button and paint a little portion. The brush size is 20%.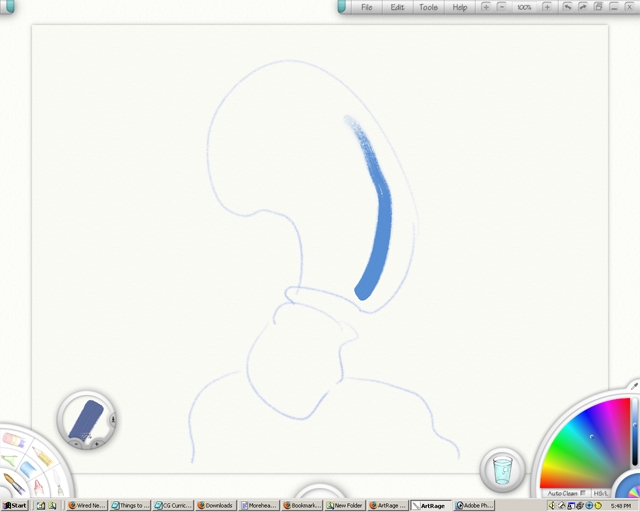
Step 10
By hitting + or - in the circle for the brush size will increase or decrease the size. Also holding left mouse button on the paint brush size toolbar and dragging it left or right will have the same effect(only quicker). Make the brush larger and paint another part.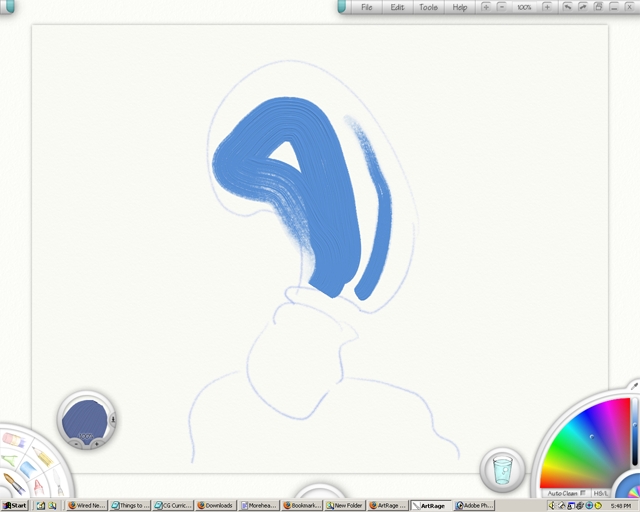
Step 11
Fill in part of your drawing with basic colors to get a general color scheme for the digital painting.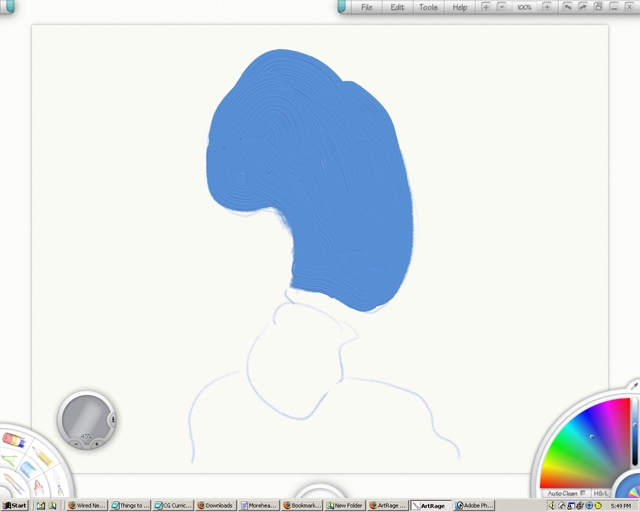
Step 12
So far I have painted a general cool color scheme for the figure.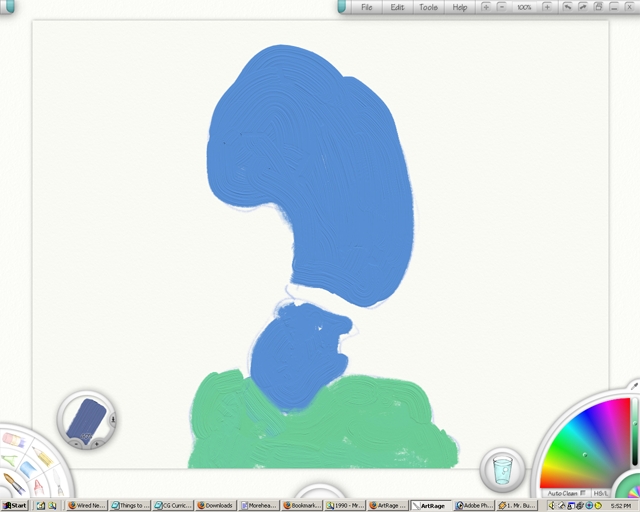
Step 13
After changing the palette color for the green part now I am going to paint part of the face. The paint will blend like real paint and mix. In an empty area paint a small part. Notice that the brush has a different color because it is dirty. Hold CTRL and press Z to undo the unwanted drawings(also called CTRL+Z).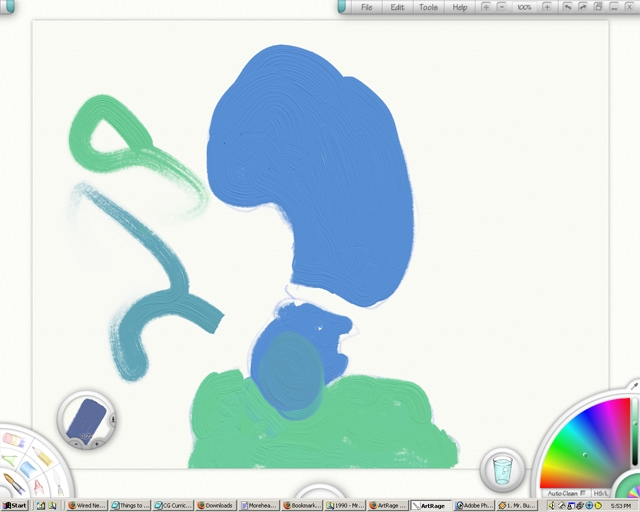
Step 14
In the middle right bottom area there is a glass of water. Click the left mouse button mutliple time on the glass. This will clean out the brush. Now paint a line. Notice the original color is back.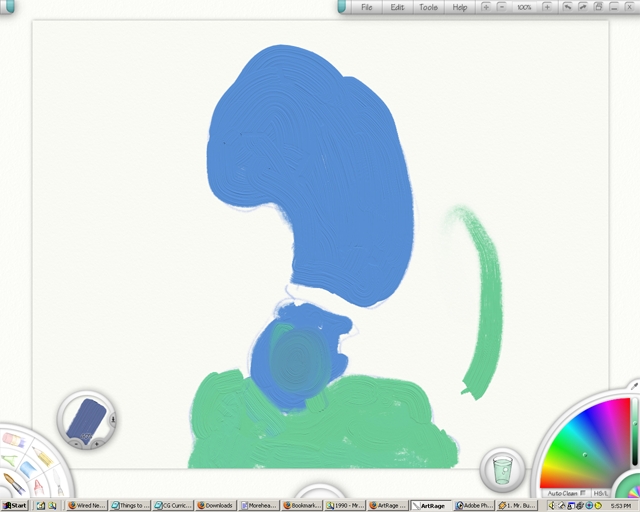
Step 15
Undo the unwanted parts. Press Enter or right click with the mouse to make the panels go away. Start drawing the background.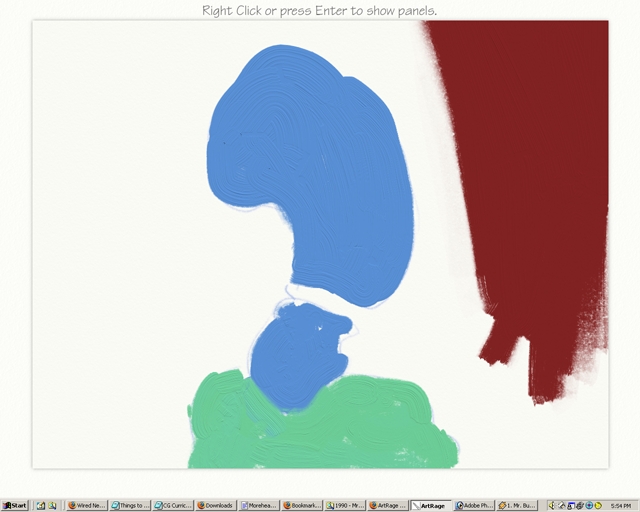
Step 16
I painted most parts with a large brush.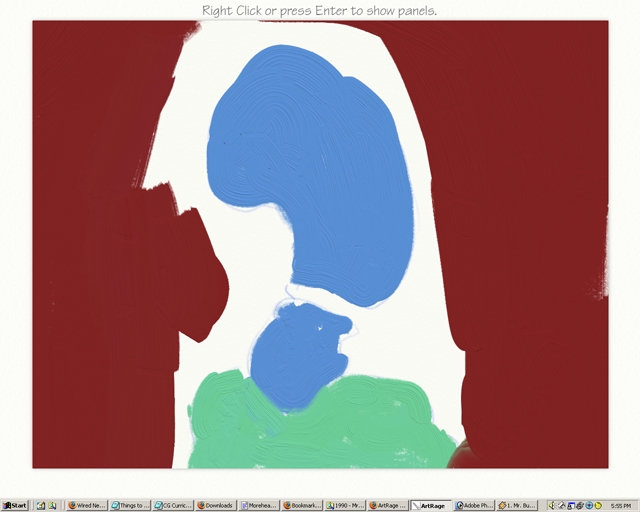
Step 17
Carefully I am using a smaller brush to paint closer to the figure.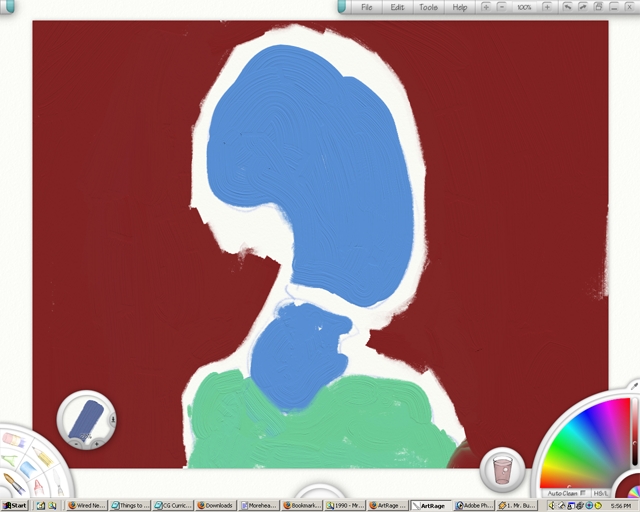
Step 18
In the Upper Right Hand Part there will be a +, -, and a percentage(50%,100%, etc..) by clicking on the + or minus it will zoom in on the picture.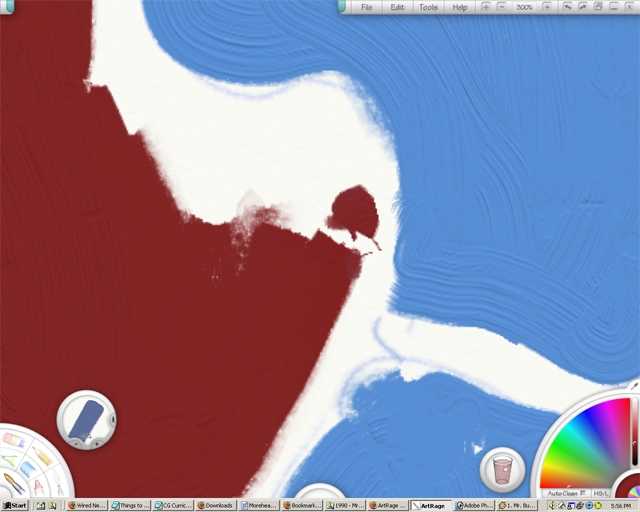
Step 19
Brush near the area. Notice some of the paint blends together if the red hist the blue.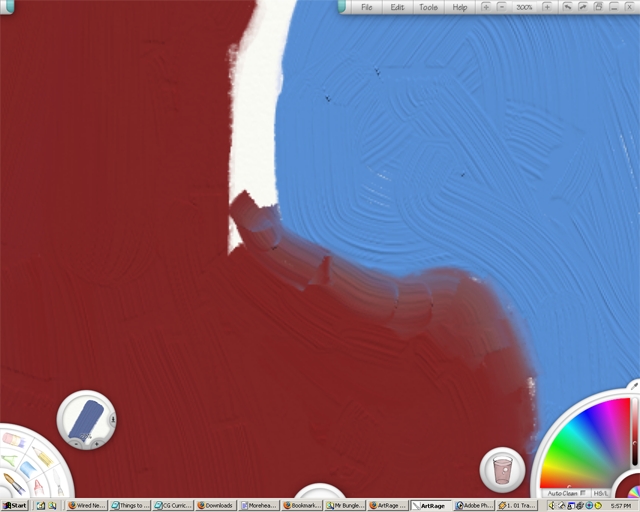
Step 20
Paint up to all the edges and zoom out.
Step 21
Now that all the basic colors are down it is a good time to save. Select Save As and save the file the same name as before with a 02 on the end of it. For example if before the name was Flapjack01 save this file as Flapjack02.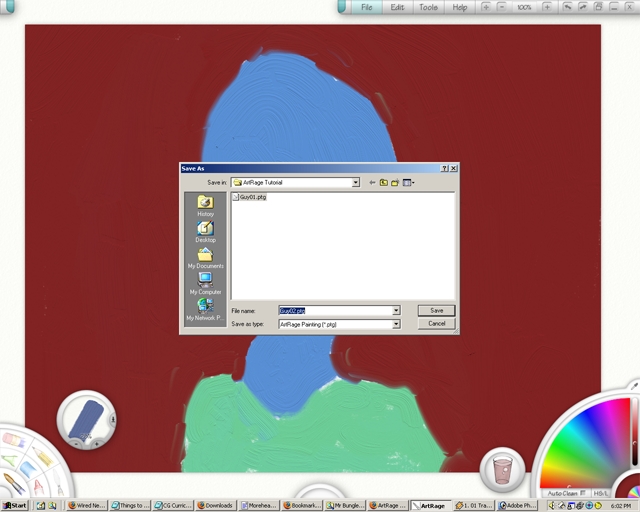
Step 22
Select the eye dropper tool(or color picker tool) and drag it to the blue part of the picture. Hit the left mouse button to confirm the color selection.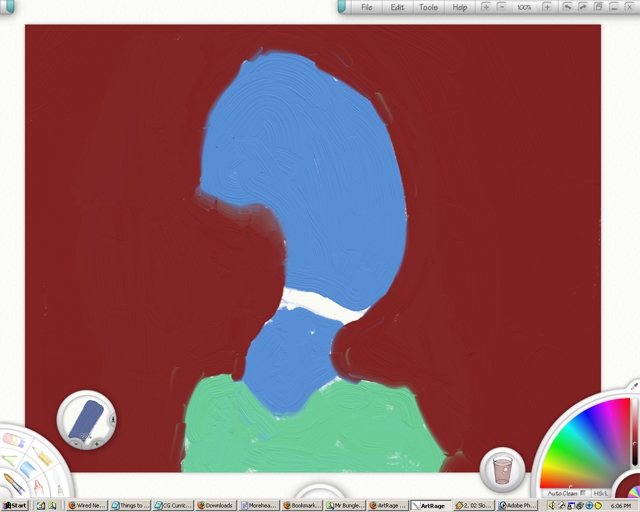
Step 23
Now the color is the exact same as the one in the picture.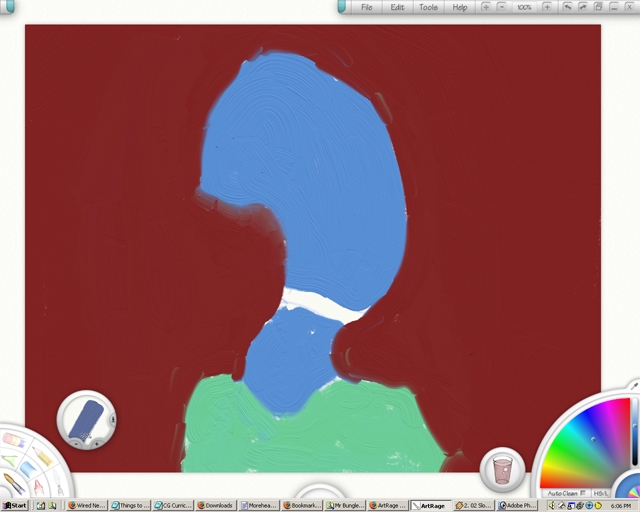
Step 24
Select the crayon tool from the brush toolbar.
Step 25
Select the pressure of the tool by clicking on the button to the right of the brush size dialog. It looks like an arrow pointing downward towards a horizonal line. Notice that the pressure is in the middle.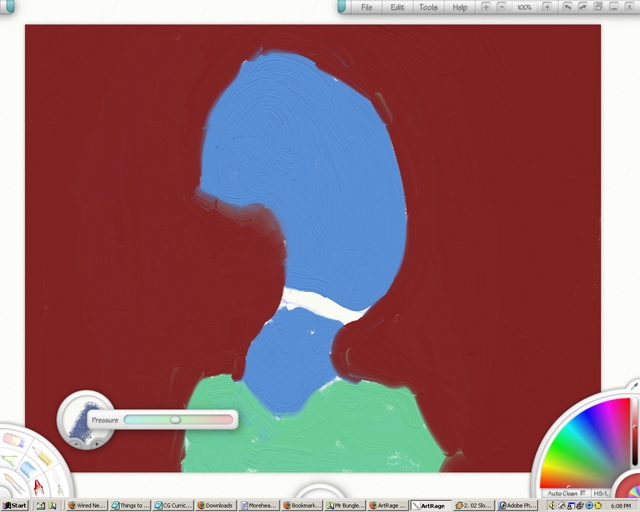
Step 26
Draw a line.
Step 27
Drag the pressure to the far left.
Step 28
Draw a line. Notice there was not line drawn. This is because the setting was on high pressure which means that do draw a line a person has to give large amounts of pressure to make a mark.
Step 29
Drag the pressure to the far right.
Step 30
Draw a line. Notice the line is thicker and more saturated.
Step 31
Undo the previous lines. Set the pressure as desired and draw around the subject.
Step 32
Draw more lines as desired.
Step 33
Select the marker brush from the brush toolbar. Draw with it over an area and make sure to overlap the brush. Notice how the brush behaves very similar to that of a real marker.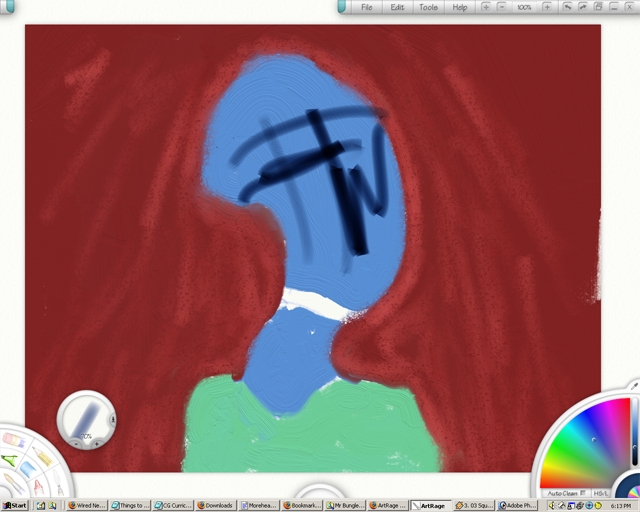
Step 34
Withe the marker tool add some shaded areas.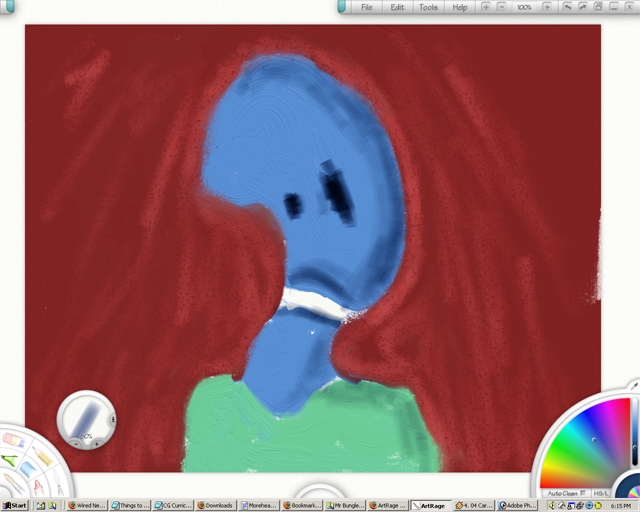
Step 35
With the eye dropper tool select the exact color of the objects. Then drag change the color to a tint of the original color. Select a paint brush and draw the highlights.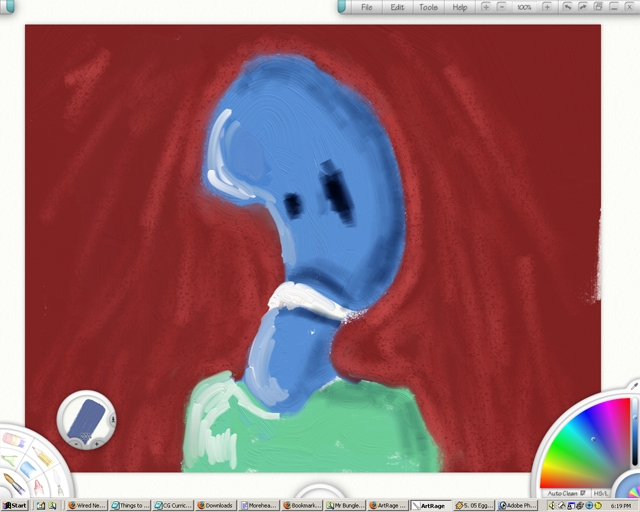
Step 36
A palette knive can be used to spear paints. Notice below the brush size toolbar there is a picture of a palette knife at a certain angle. Smear a part of the picture.
Step 37
Click the mouse on the palette knife image to change the angle. Smear a part of the picture to notice the difference.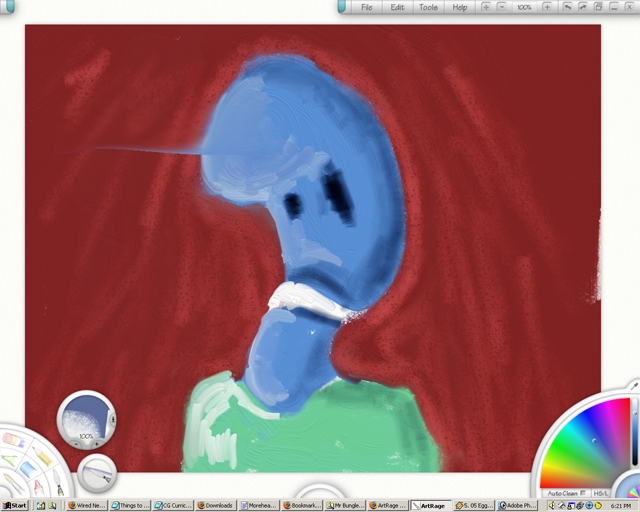
Step 38
Zoom out very far to see what parts of the picture need work.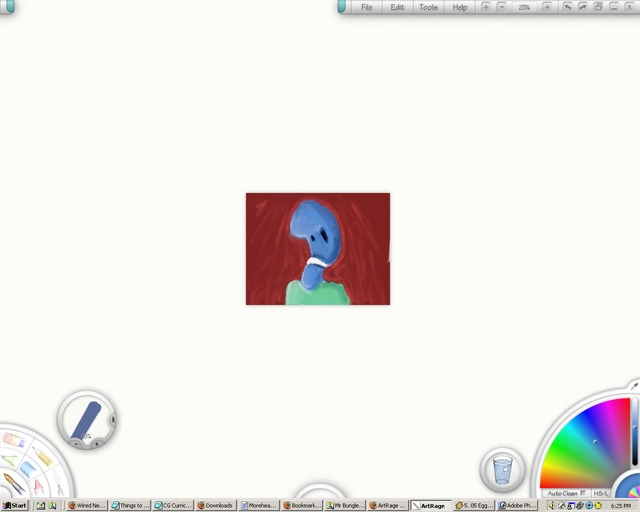
Step 39
I used a palette knife to tone down some of the bright lines.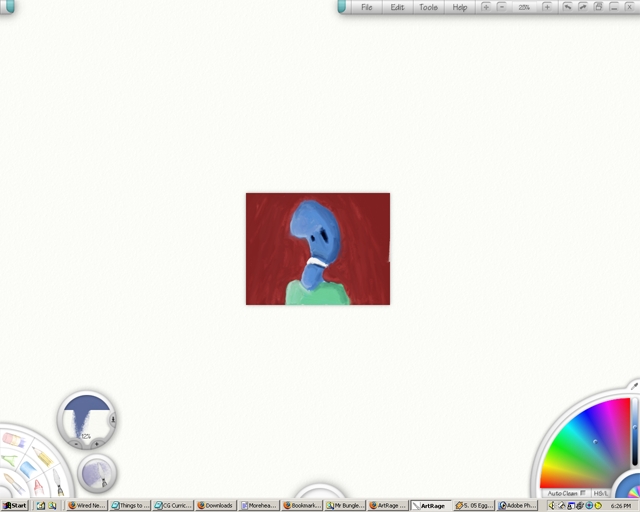
Step 40
Zoom back in when ready.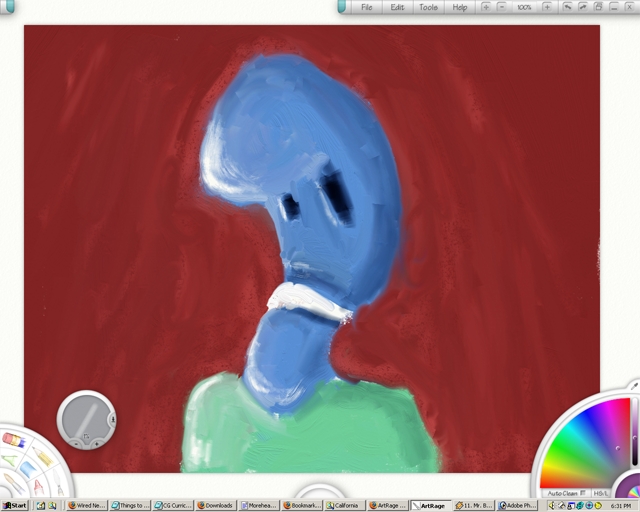
Step 41
Add more details.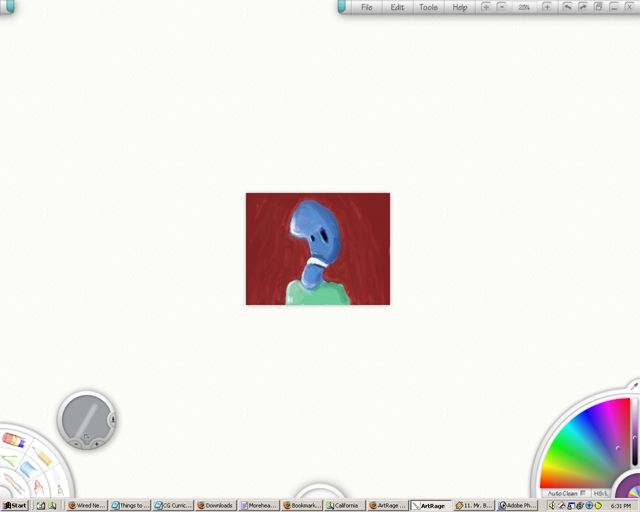
Step 42
Zoom in close to add some details.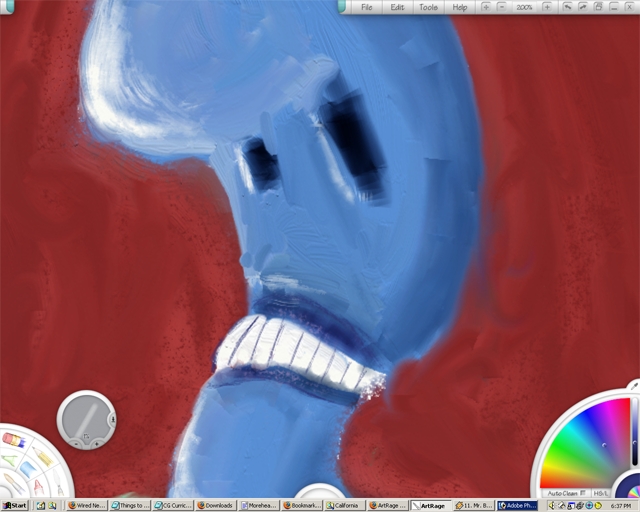
Step 43
Zoom out periodically to see how the picture is turning out.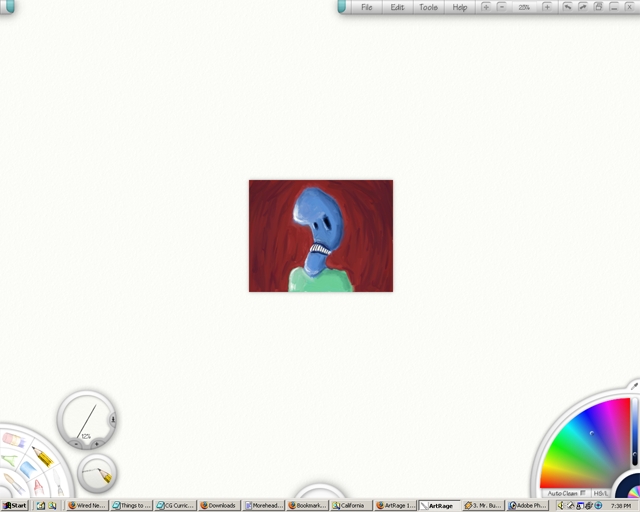
Step 44
This is the last picture I had saved before Artrage crashed. This tutorial ends here with a VERY valuable lesson. SAVE OFTEN! While I was creating this tutorial, I forgot to save periodically. Therefore all the detail shown previously(and more) was lost when Artrage crashed. Luckily I was able to screen capture most of the things I wanted to show. Once again, SAVE OFTEN.